


For any design team, having an established graphic design process leads to better results, higher creative output, and significantly less frustration.
The way we approach design projects has evolved drastically. With the rise of AI-powered tools, designers can now ideate, iterate, and deliver faster than ever before. But that speed only works when there's a structured process in place.
If you’re managing designers or looking to streamline how your creative team works, this step-by-step breakdown will help you build a more effective graphic design workflow.
Why Having a Structured Design Process Matters
Graphic design isn’t just about aesthetics—it’s about solving problems. A solid process ensures:
- Clarity: Everyone understands the direction from the start.
- Efficiency: Clear steps reduce delays and confusion.
- Consistency: A defined structure ensures a cohesive brand presence.
- Quality: Regular checkpoints minimize errors and misalignment.
- Scalability: Easily repeat the process across multiple projects.
- Client Satisfaction: Stakeholders feel heard and involved at every phase.
What Is the Graphic Design Process?
At its core, it’s a sequence of actions that transforms an idea into a finished visual product.
The process typically includes: briefing, research, concepting, designing, reviewing, and delivering. With tools like AI now integrated into many of these steps, designers can generate concepts faster, build moodboards from prompts, and version assets more efficiently—all while retaining human-led creativity.
5-Step Graphic Design Process
1. Start with a Creative Brief
The brief is the backbone of your project. It outlines:
- Company and project details
- Brand guidelines
- Target audience
- Goals and deliverables
- Timeline and budget
- Examples of what to emulate—or avoid
Always review the brief live with your designer or team, especially for complex projects.
2. Conduct Design Research
This step fuels creative direction.
- Review competitors’ designs
- Explore trends on sites like Behance or Freepik
- Study what your target audience is engaging with
- Build a moodboard for inspiration
Even if your brief is detailed, allowing designers to explore will improve ideation quality.
3. Brainstorm and Share Concepts
Before diving into full production, designers should generate 3–5 concept directions.
Review them together and pick one to develop further. This avoids wasted time and ensures you're aligned before refining begins.
Pro tip: If you already have a vision, share reference links or inspiration during the briefing stage.
4. Review Using the 10/50/99 Method
Give feedback at the right time, not just all the time.
- 10% Review: The outline. Give feedback on direction, not design details.
- 50% Review: Key elements in place. Focus on clarity, messaging, and layout.
- 99% Review: Now you can tweak colors, spacing, and fonts.
Jumping the gun with overly detailed feedback too early can stall progress and frustrate designers.
5. Present the Final Product
Once approved, it’s time to deliver final assets and launch your creative.
Make time to reflect with your team: What went well? What could be improved?
This builds a stronger, more scalable design process moving forward.
The Power of Design Feedback—and How to Improve It
Giving and receiving feedback is an art, not just a step.
For Managers and Clients:
- Be specific. “I don’t like it” isn’t helpful. Try: “This CTA blends into the background—can we make it more prominent?”
- Lead with context. Link feedback to project goals.
- Describe the problem, not the fix. Let designers solve creatively.
For Designers:
- Ask for the kind of feedback you need at each stage.
- Clarify who should provide feedback—one person or a group?
- Share examples of helpful (and unhelpful) feedback from past projects to guide clients.
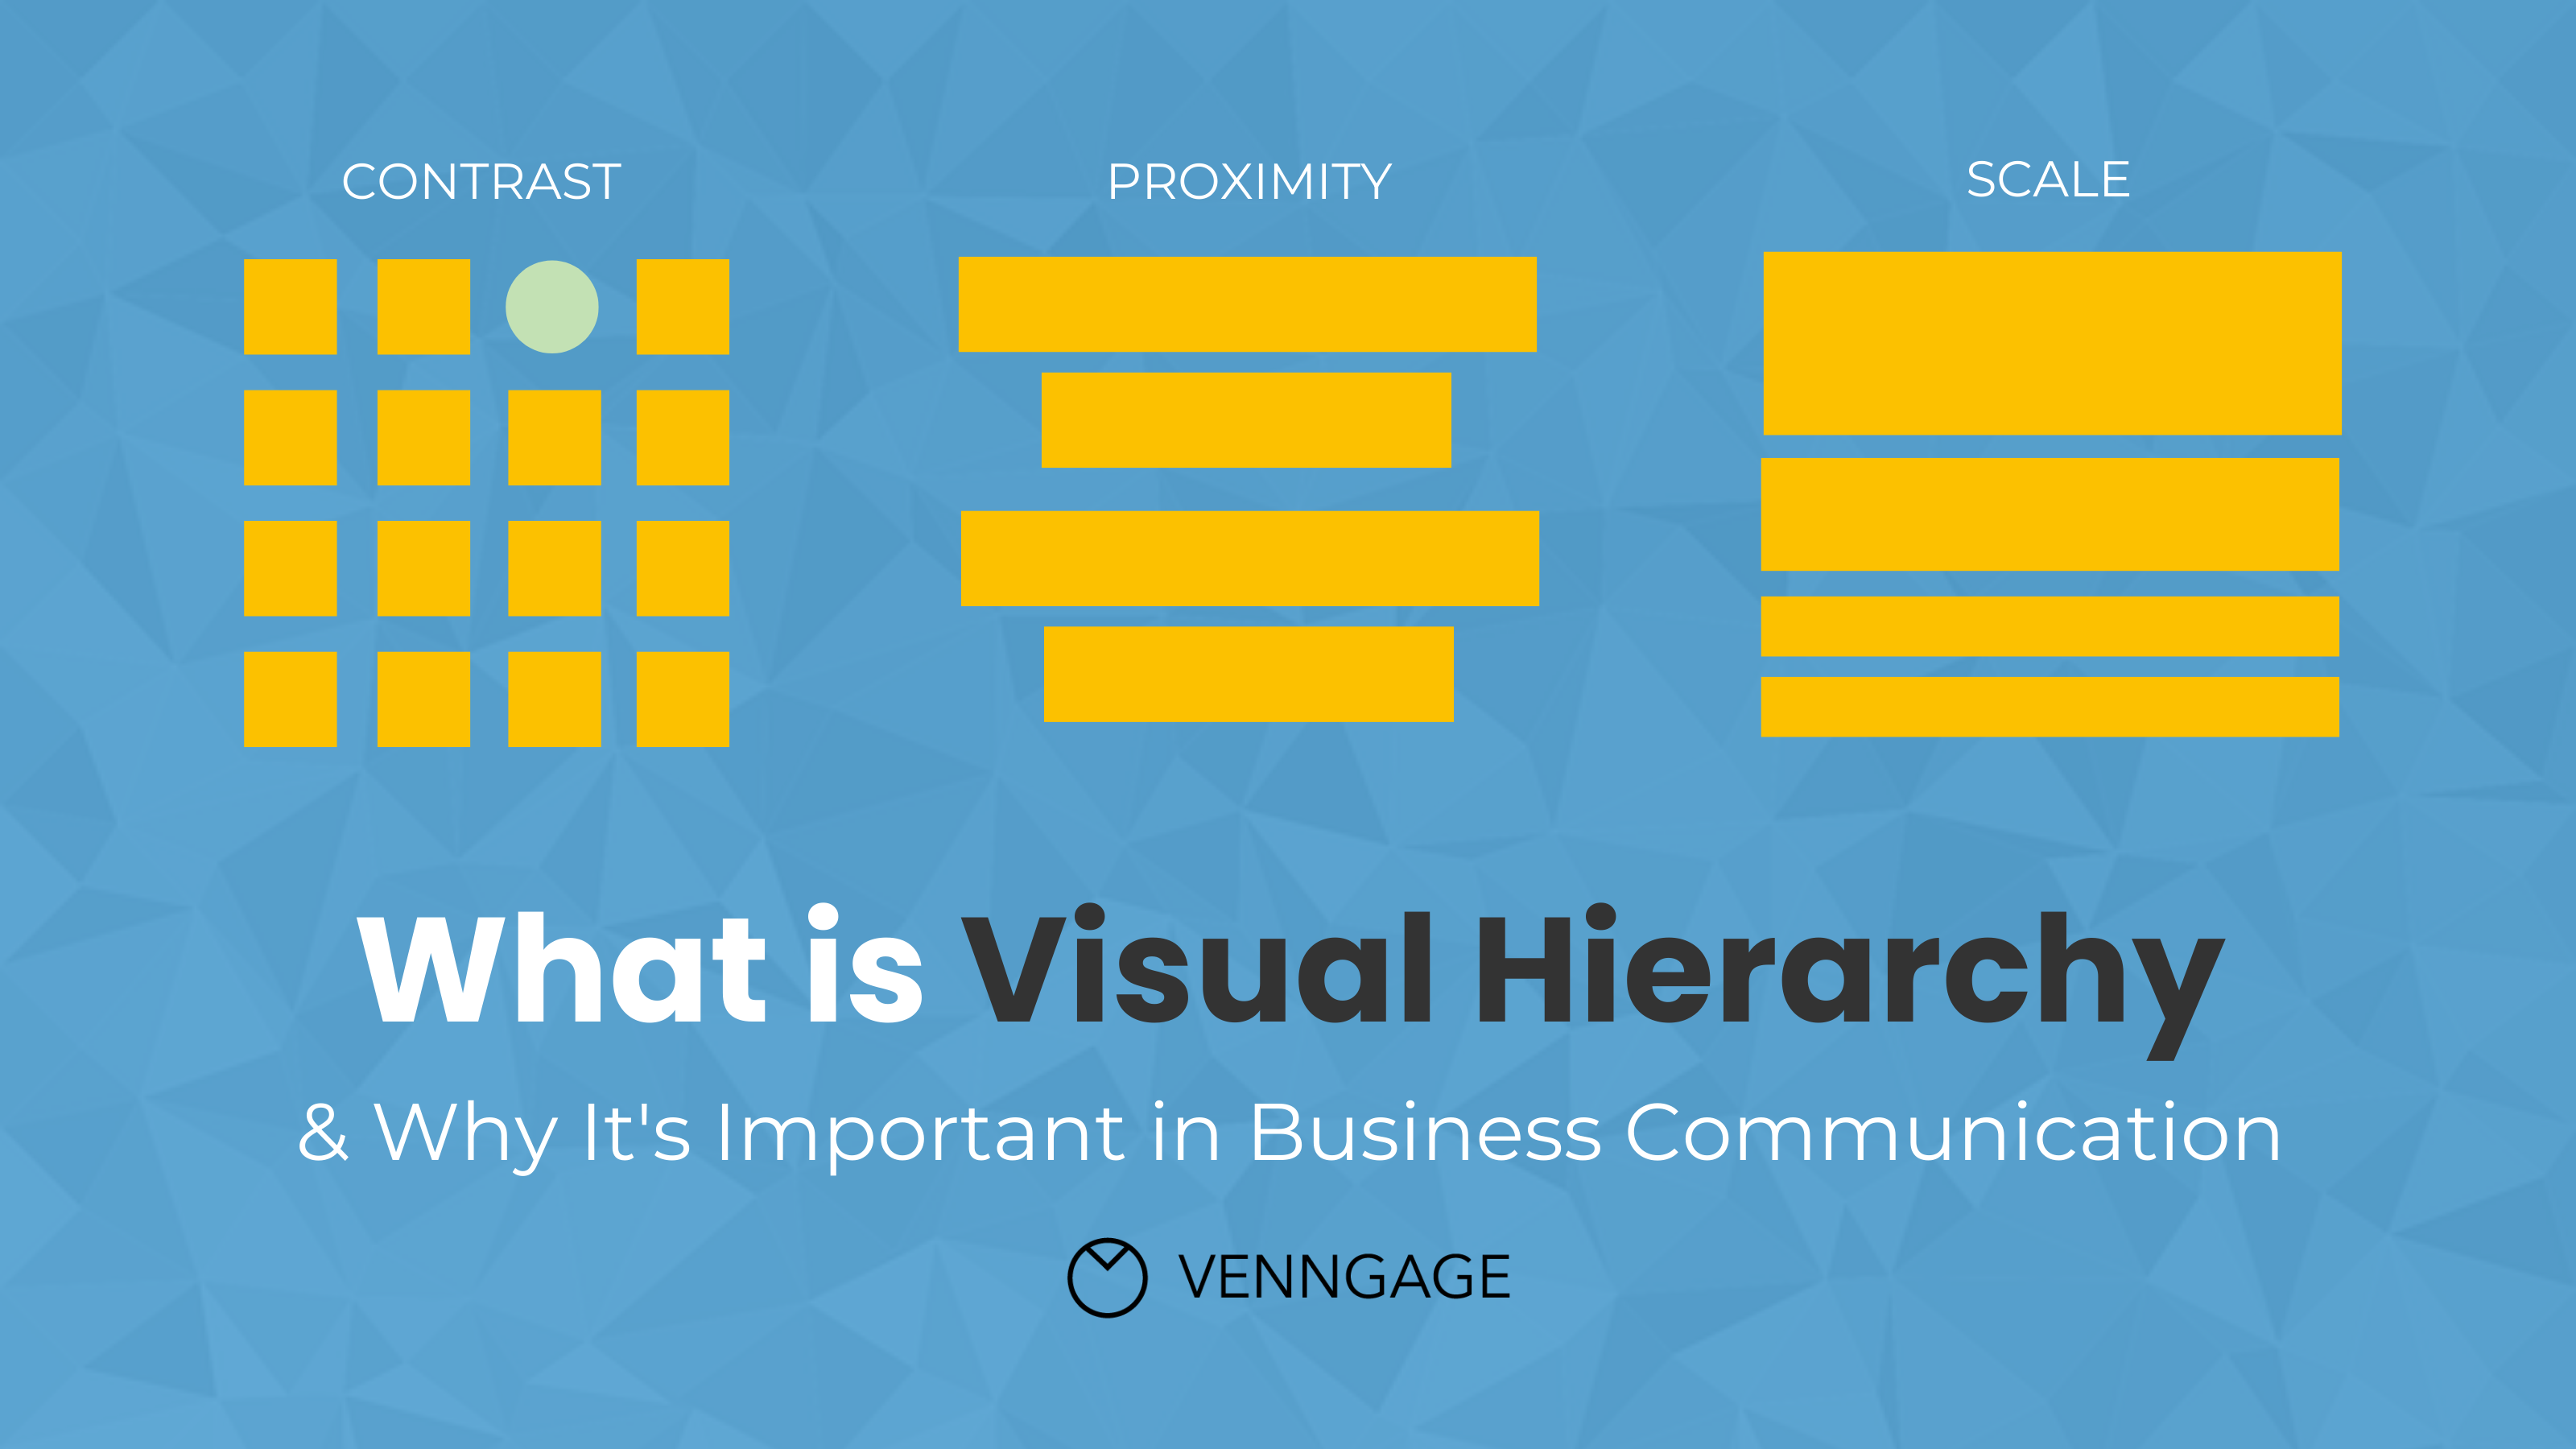
9 Core Principles of Effective Graphic Design
1. Balance
Achieve harmony through symmetrical or asymmetrical design.

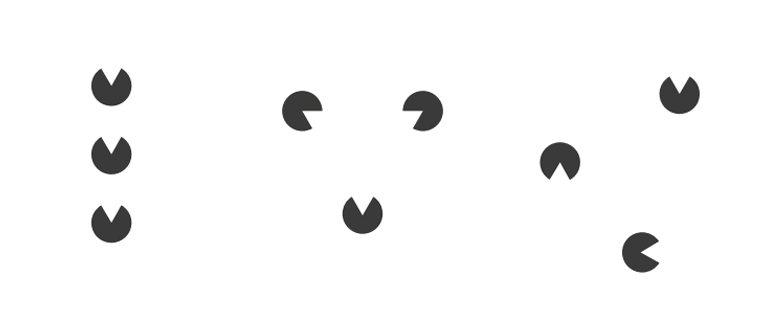
2. Proximity
Group related elements together to create visual clarity.
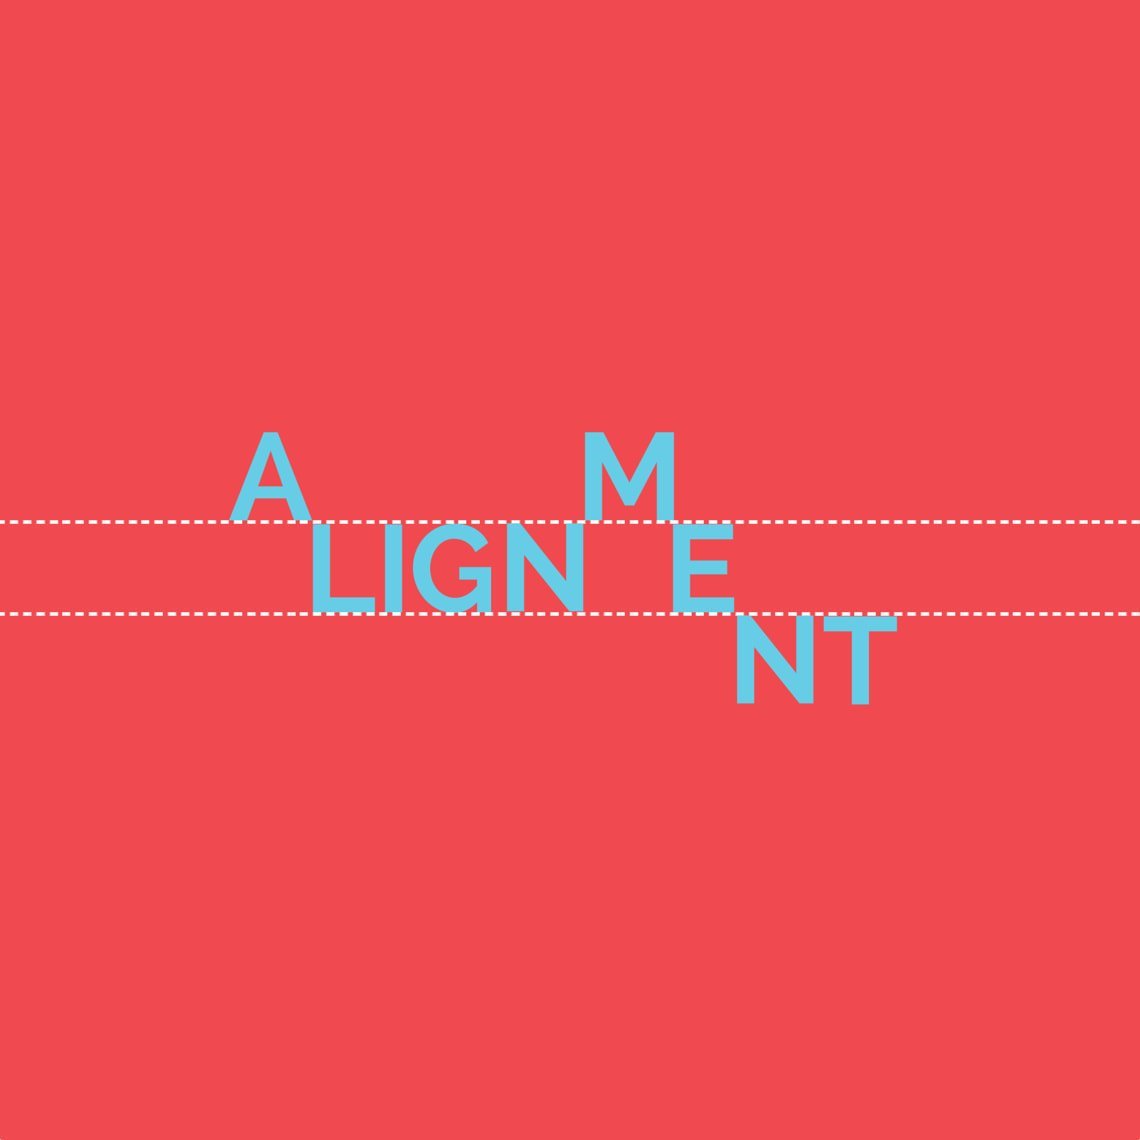
3. Alignment
Everything should align to create a clean, organized layout.
4. Visual Hierarchy
Lead the viewer’s eye by emphasizing what’s most important.
5. Repetition
Repeat design elements (colors, fonts) to reinforce brand identity.
6. Contrast
Use contrast in size, color, and shape to make key elements pop.

7. Color
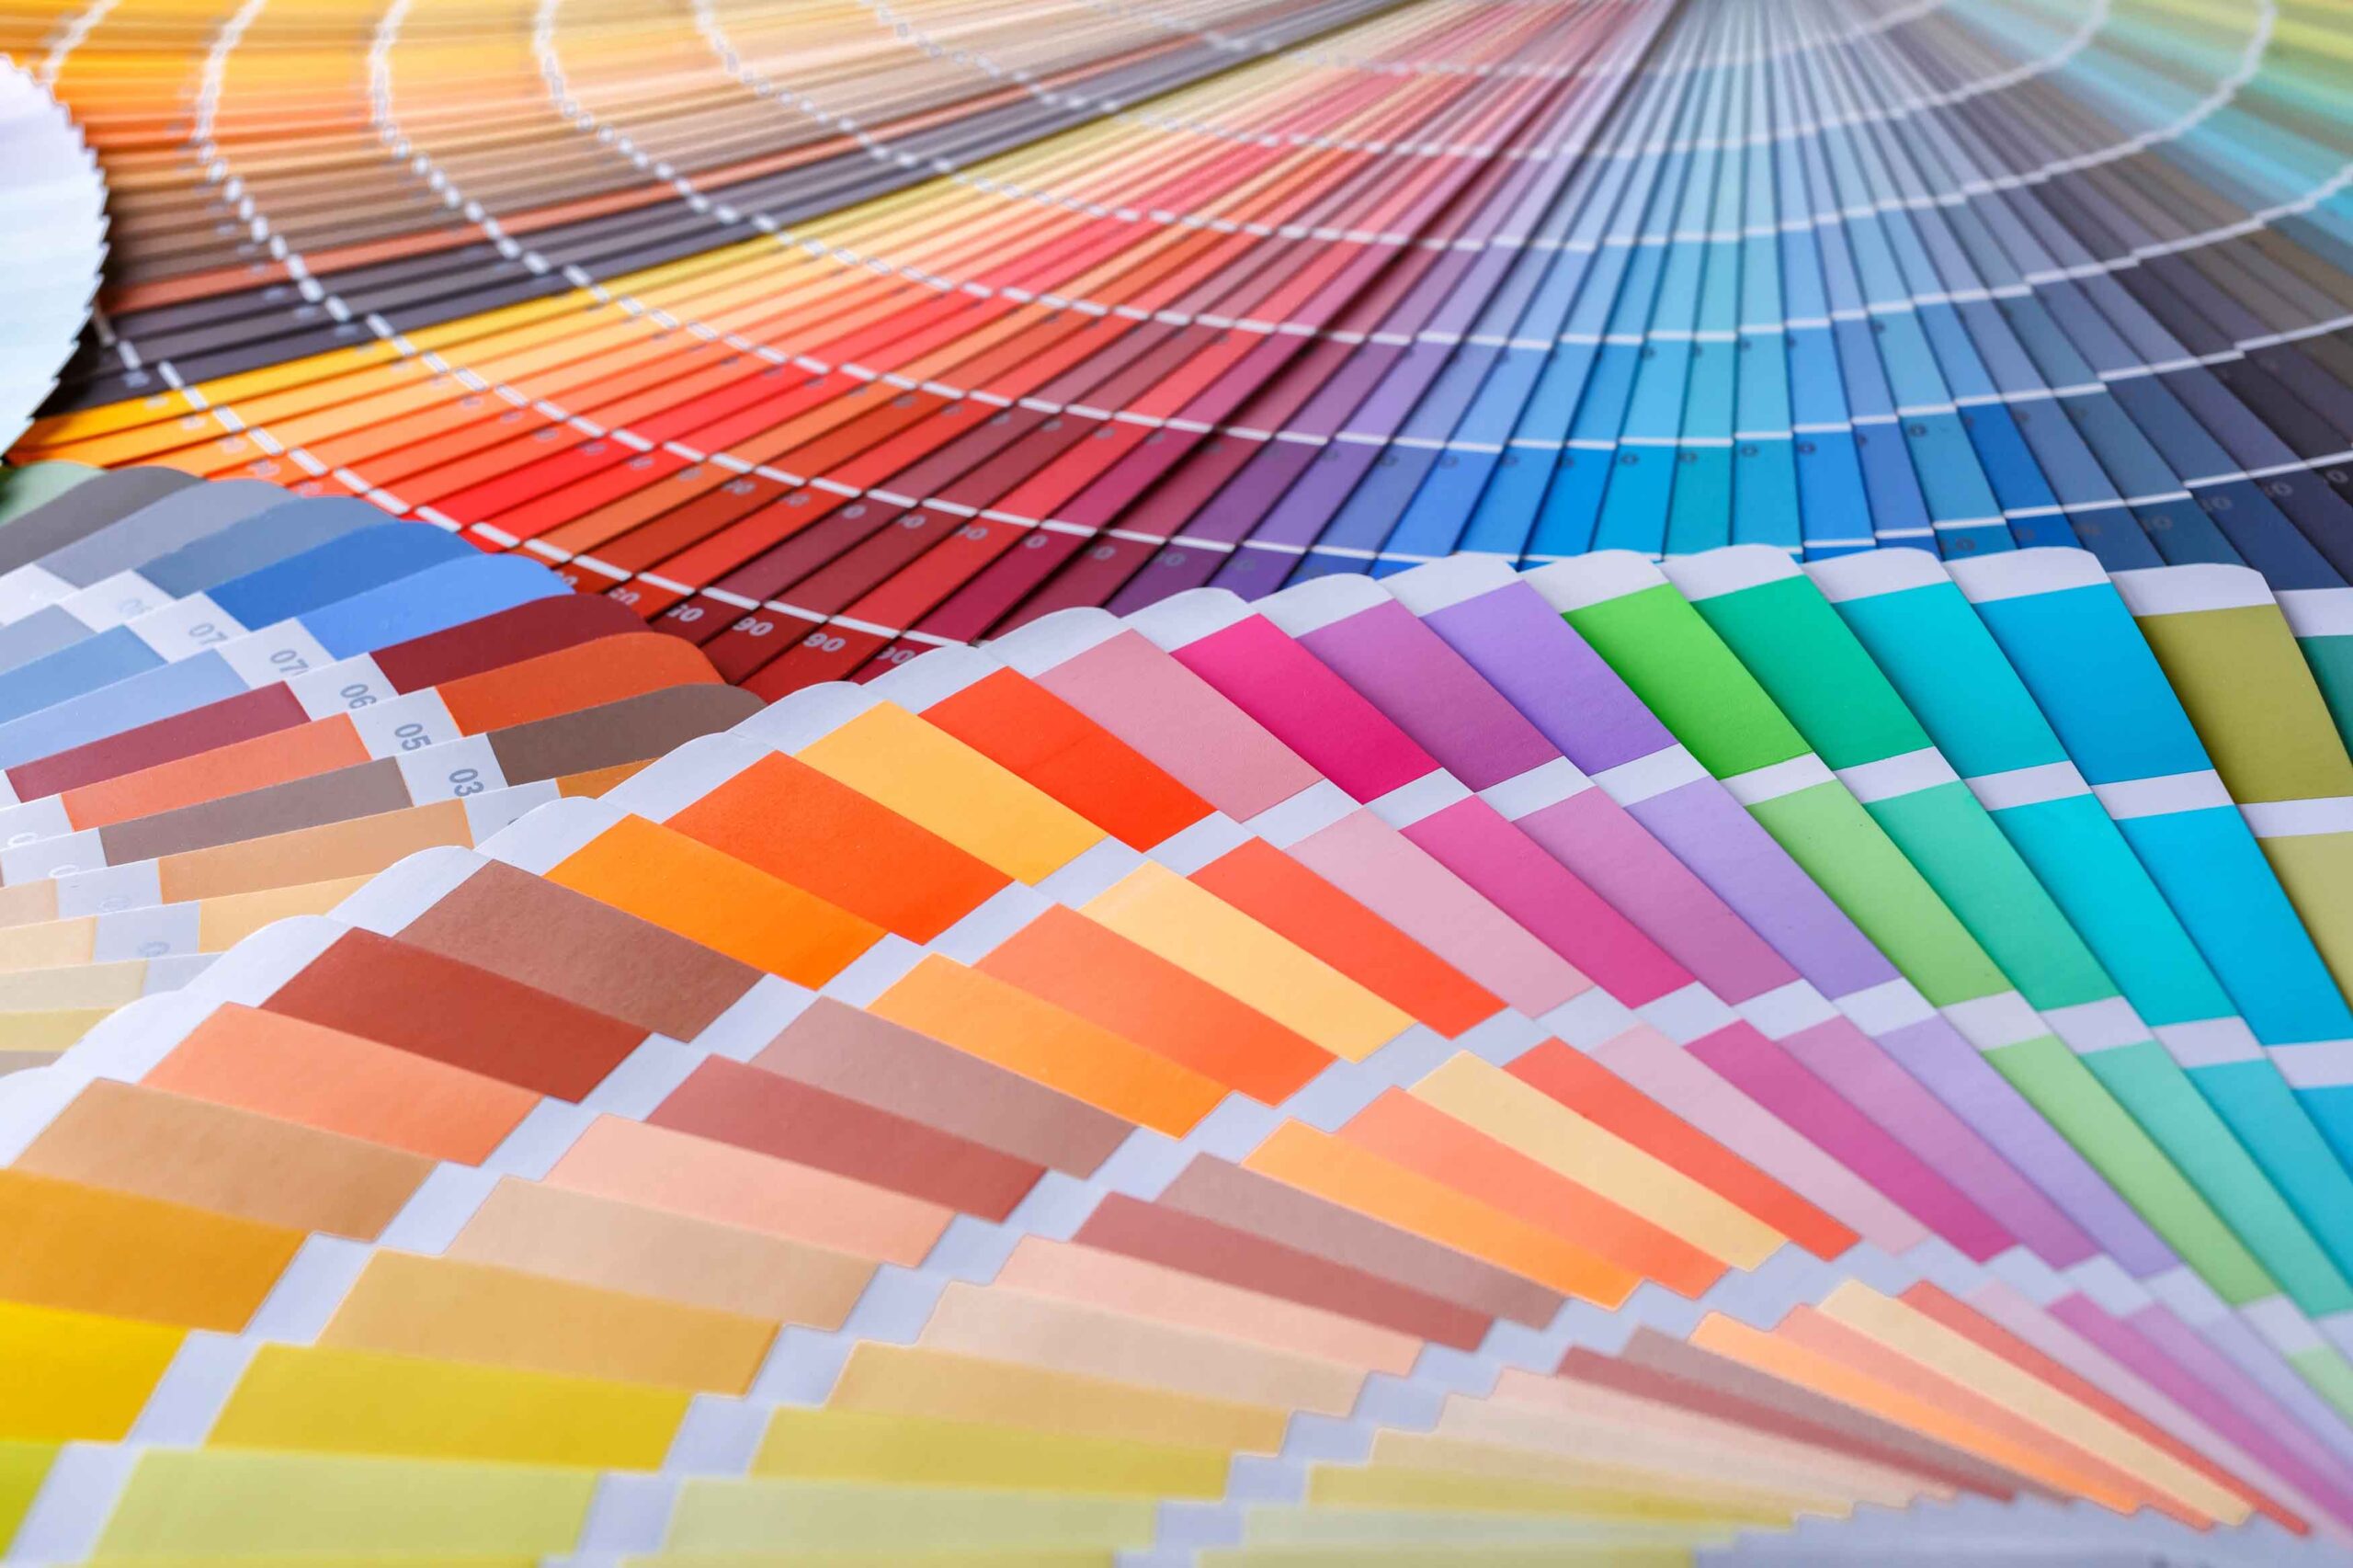
Color choices should reflect emotion and brand strategy.
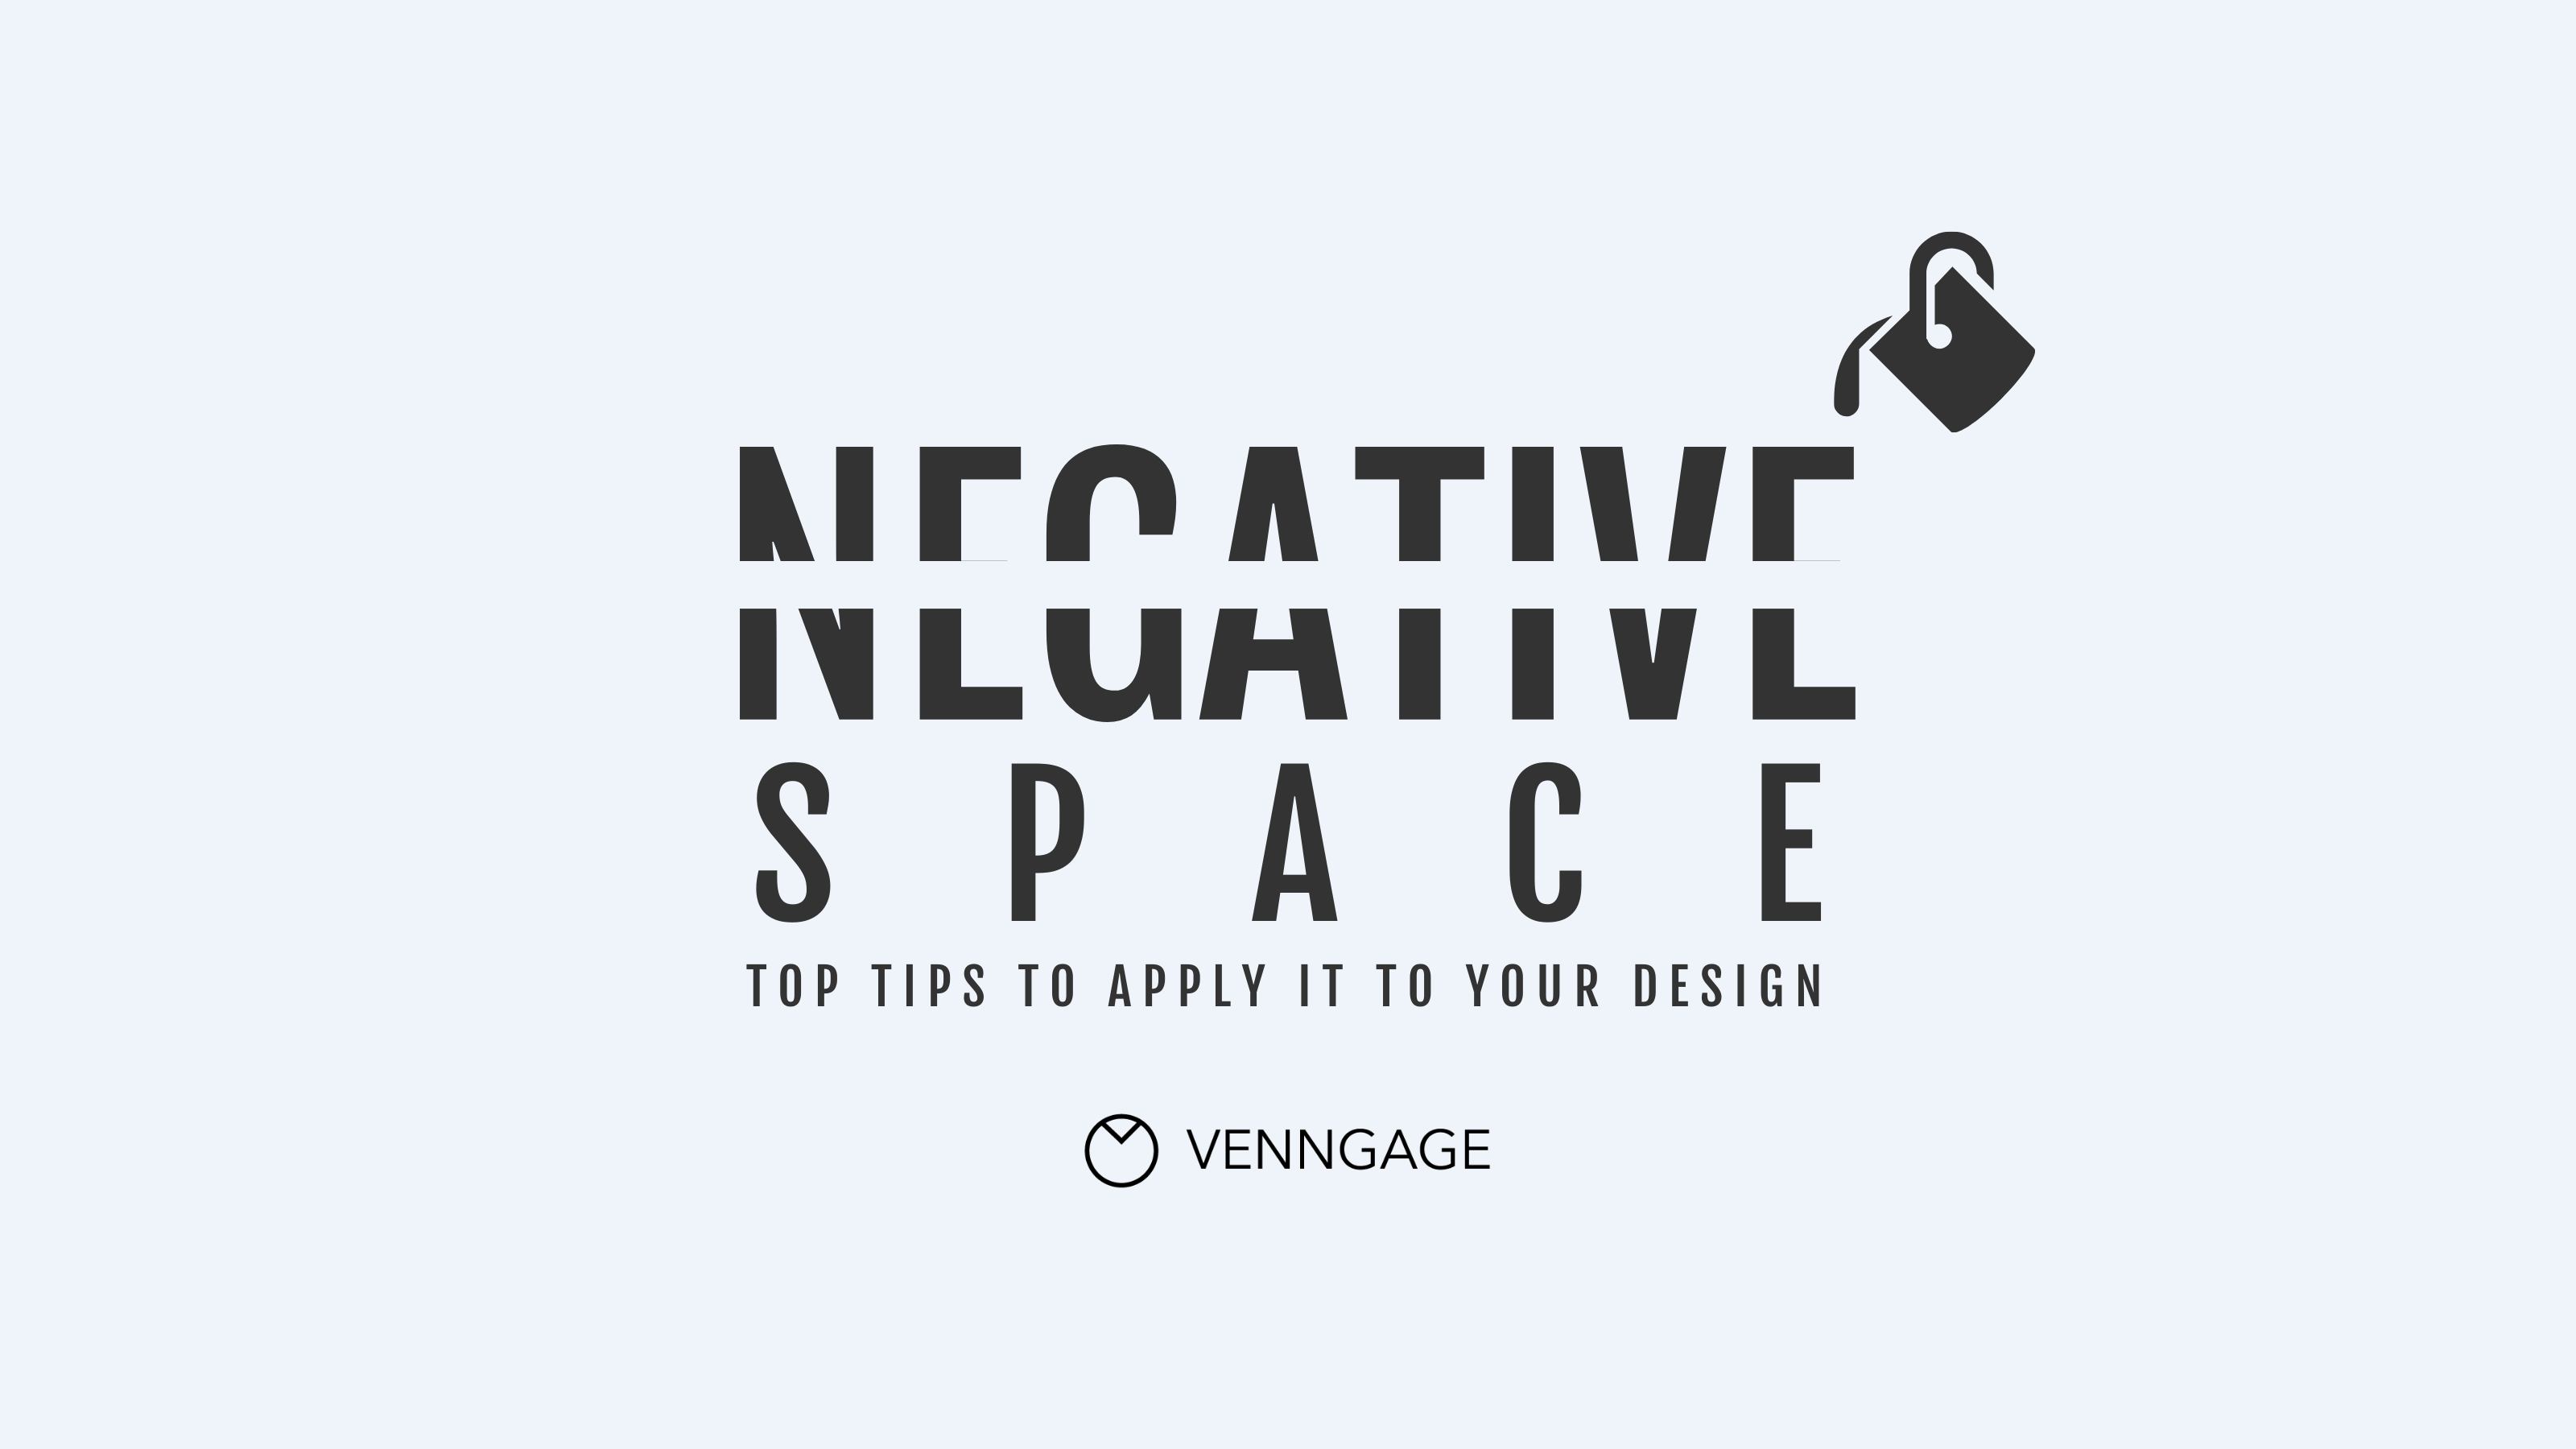
8. Negative Space
Give elements room to breathe. Don’t overcrowd.
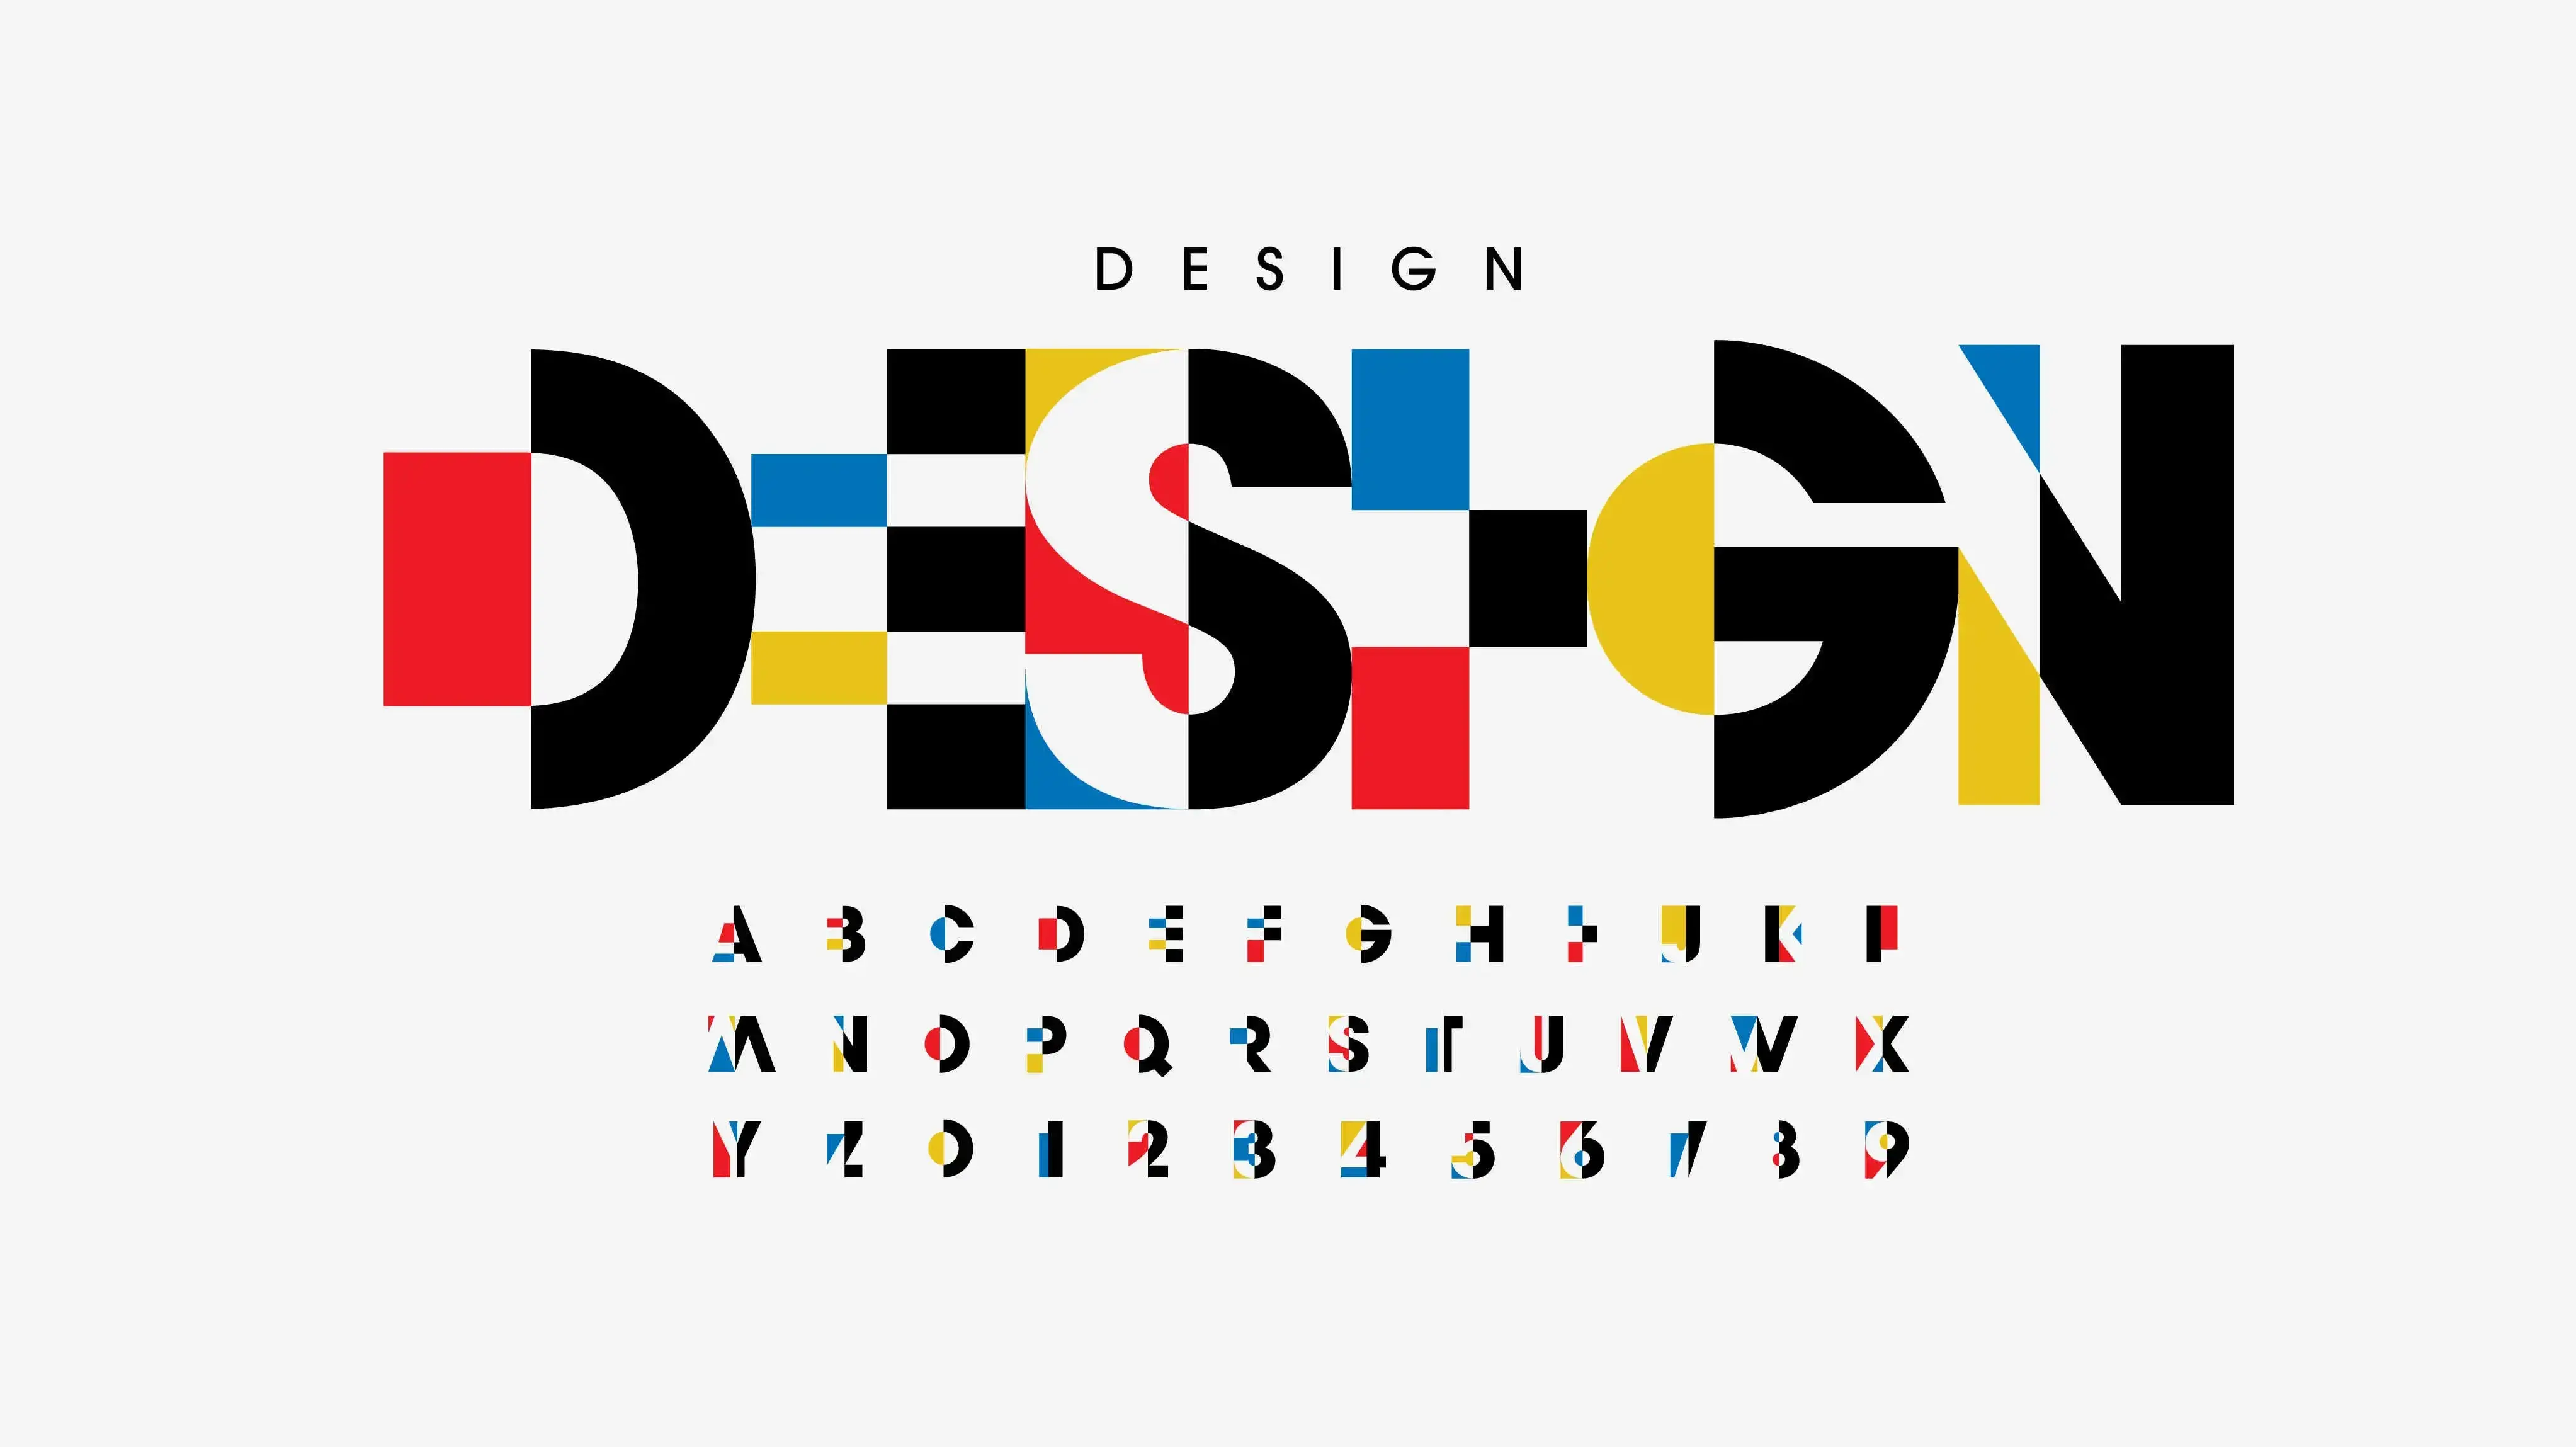
9. Typography
Use font styles and arrangements that enhance readability and tone.
Let DolFinContent Bring Structure to Your Creative Workflow
At DolFinContent, we’ve optimized the design process for speed, quality, and performance. Our AI-enhanced workflows and global creative talent ensure your assets get delivered fast—without compromising creativity or strategy.
Whether you need branding, campaign design, or scalable asset production, we’ve built a system that flexes with your needs.
.png)
.png)
.png)


